
An ingest URL is the address you paste into a provider. Webhooker calls the thing that owns it a source: one source, one URL, one inbound stream.
This page walks the whole flow, field by field. If you only want the short version, see the quick start.
Before you start
Section titled “Before you start”- An account on app.webhooker.eu. Registration asks for an email and a password, then a six-digit code sent to that address.
- The provider’s signing secret, if you plan to verify inbound signatures in step 4. You can add it later without changing the URL.
1. Open the Sources page
Section titled “1. Open the Sources page”Sign in and open Sources in the left navigation. A new account has an empty list and a single button: Create source.
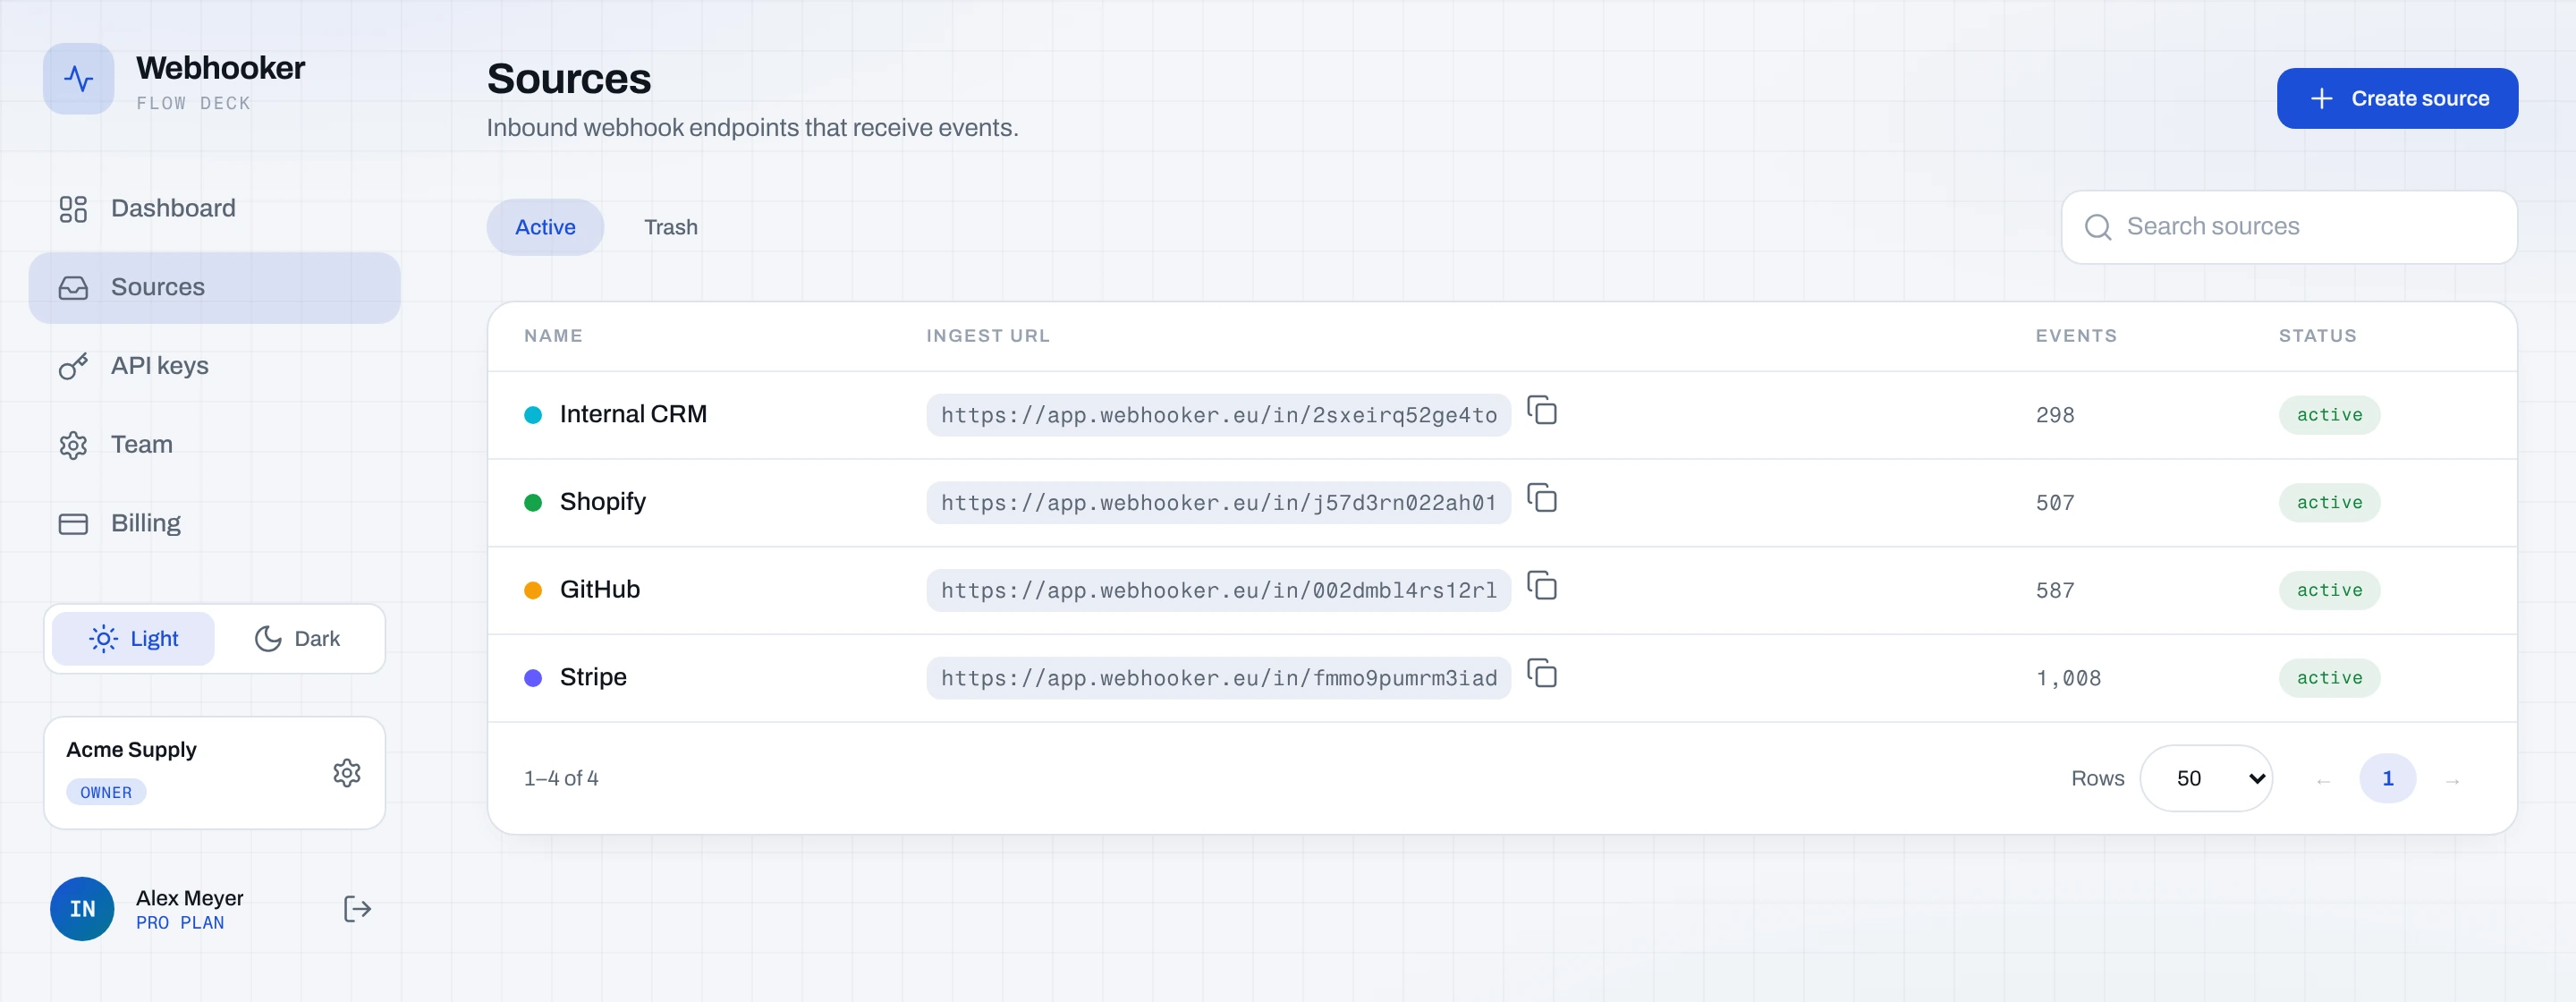
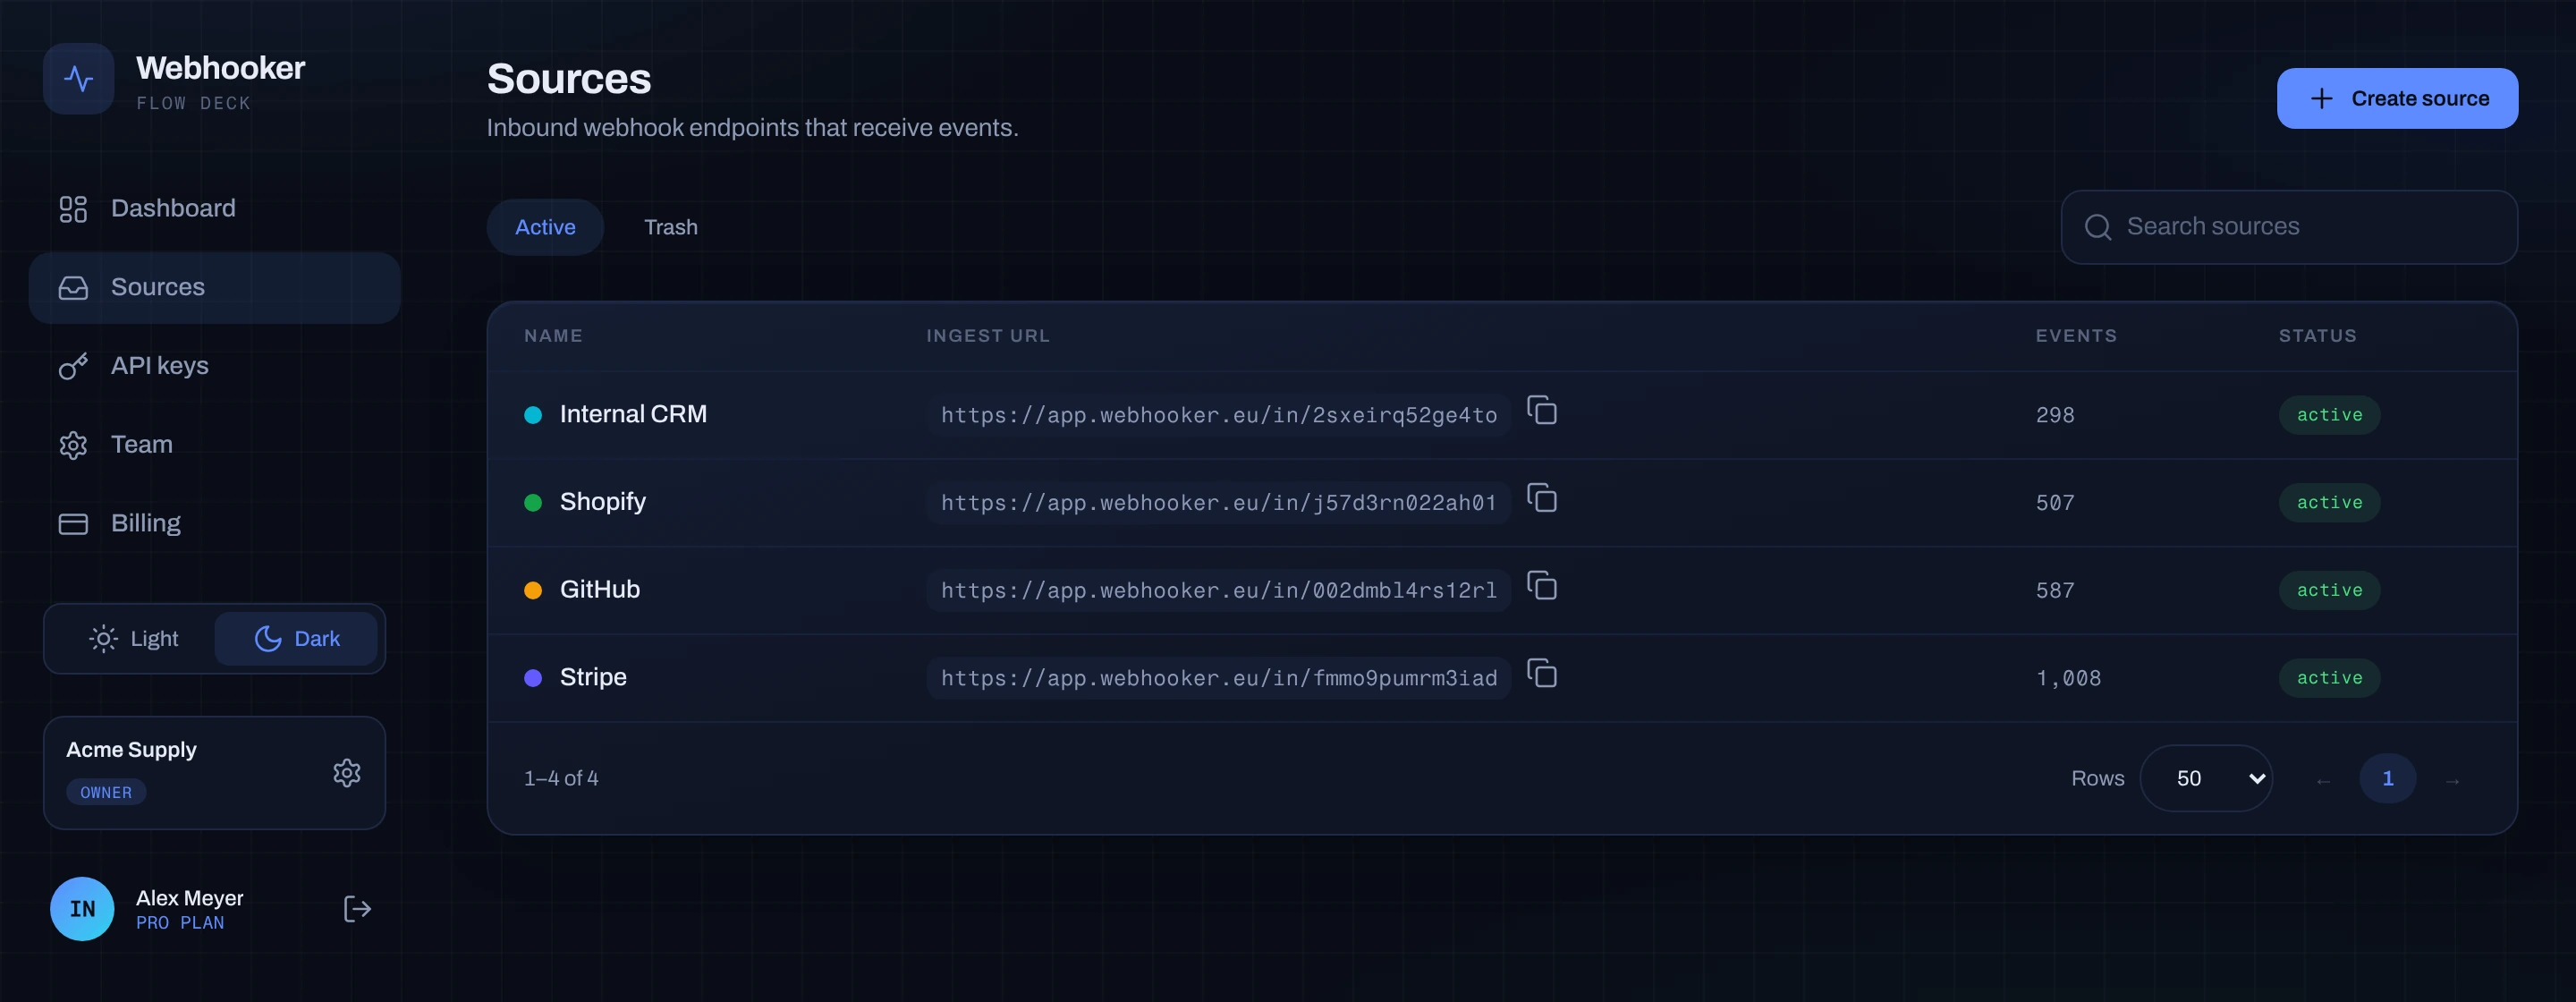
The header of the page shows two tabs:
| Tab | What it holds |
|---|---|
| Active | Sources that accept events right now. |
| Trash | Deleted sources, restorable for 7 days. |
2. Create the source
Section titled “2. Create the source”Click Create source. The New source dialog has two fields:
- Name — required, anything you will recognise later:
stripe-prod,shopify-eu,internal-crm. The name is used in the event log, in alert emails and in the CLI, so name it after the sender, not after the receiver. - Colour — the dot shown next to every event from this source. One is preselected from the palette; change it if you like.
Press Create. The source appears in the list immediately with its URL.
3. Copy the ingest URL
Section titled “3. Copy the ingest URL”The list row shows the URL in monospace with a copy button next to it:
https://app.webhooker.eu/in/6b225n04u5kmygThe last segment is the source’s token: 14 lowercase letters and digits, generated once and never changed. It is the only secret in the URL, so treat the whole URL as a credential — anyone who has it can post events to your source.
Open the URL in a browser and you get a plain information page, not your data. A
GET never returns events.
4. Choose how inbound requests are verified
Section titled “4. Choose how inbound requests are verified”Open the source and go to the Settings tab. Authenticate inbound
requests is off by default: everything is accepted and recorded as skipped.
Turn it on and pick an Authentication method.
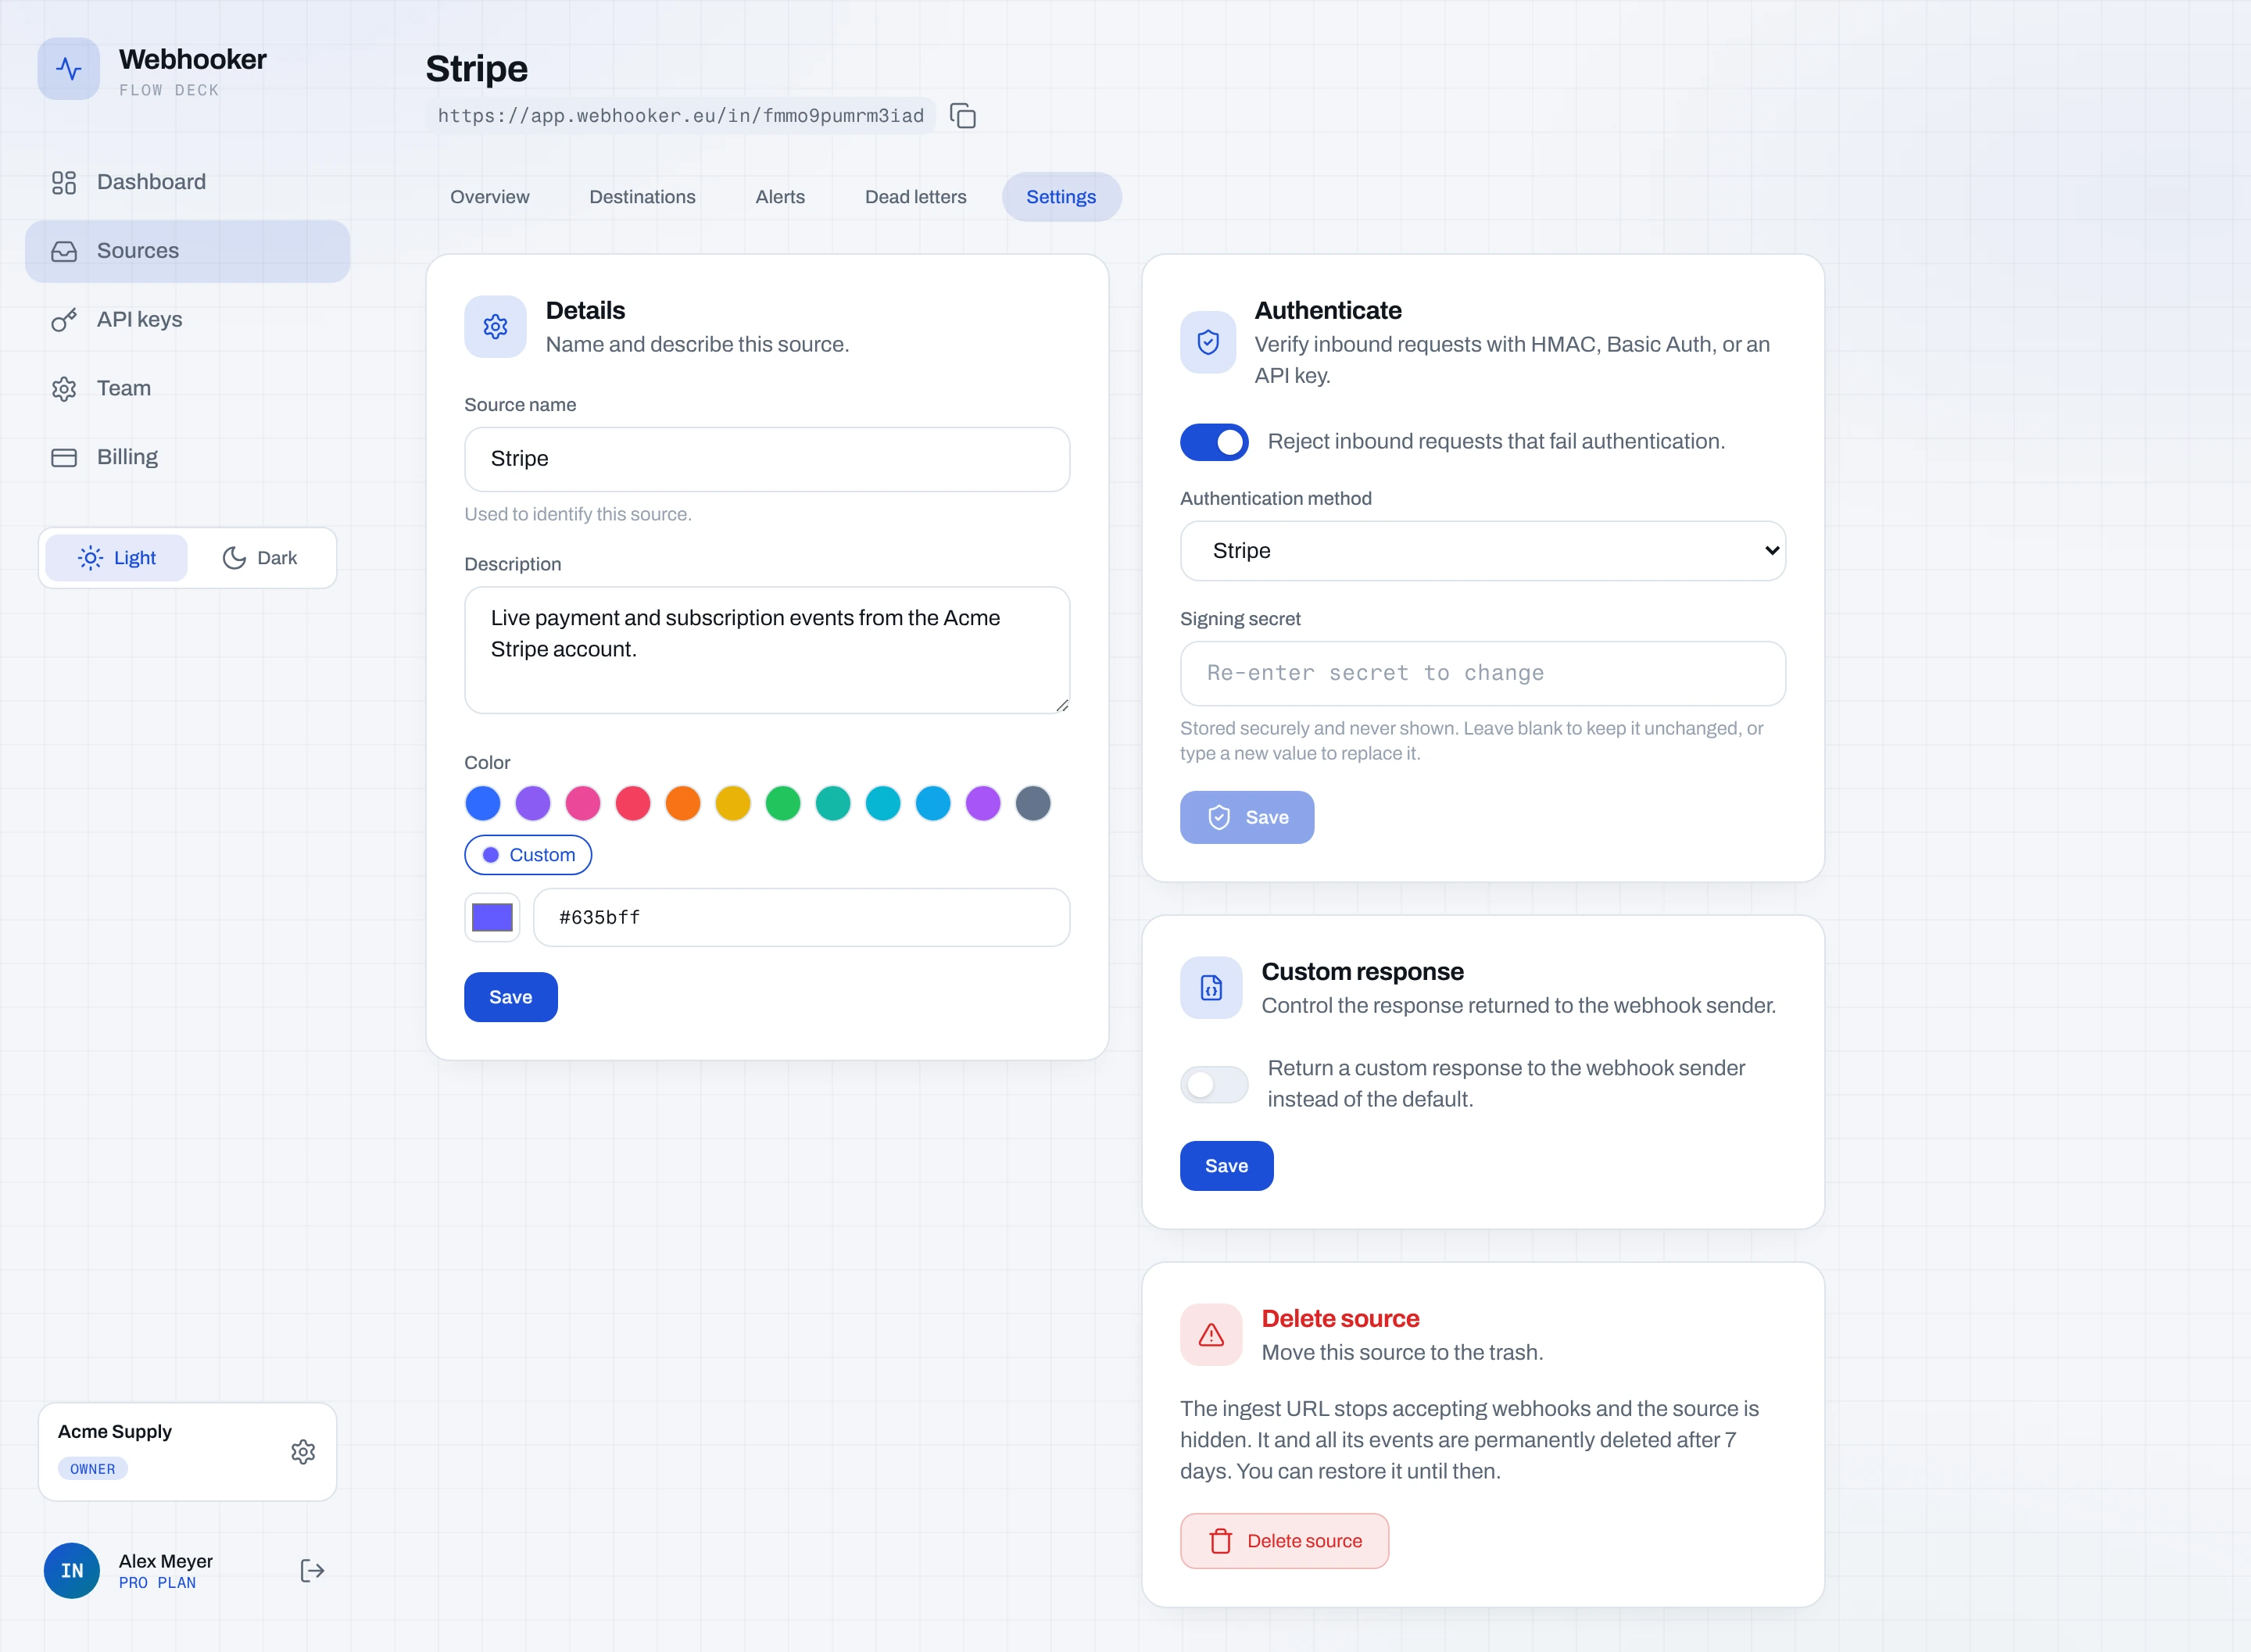
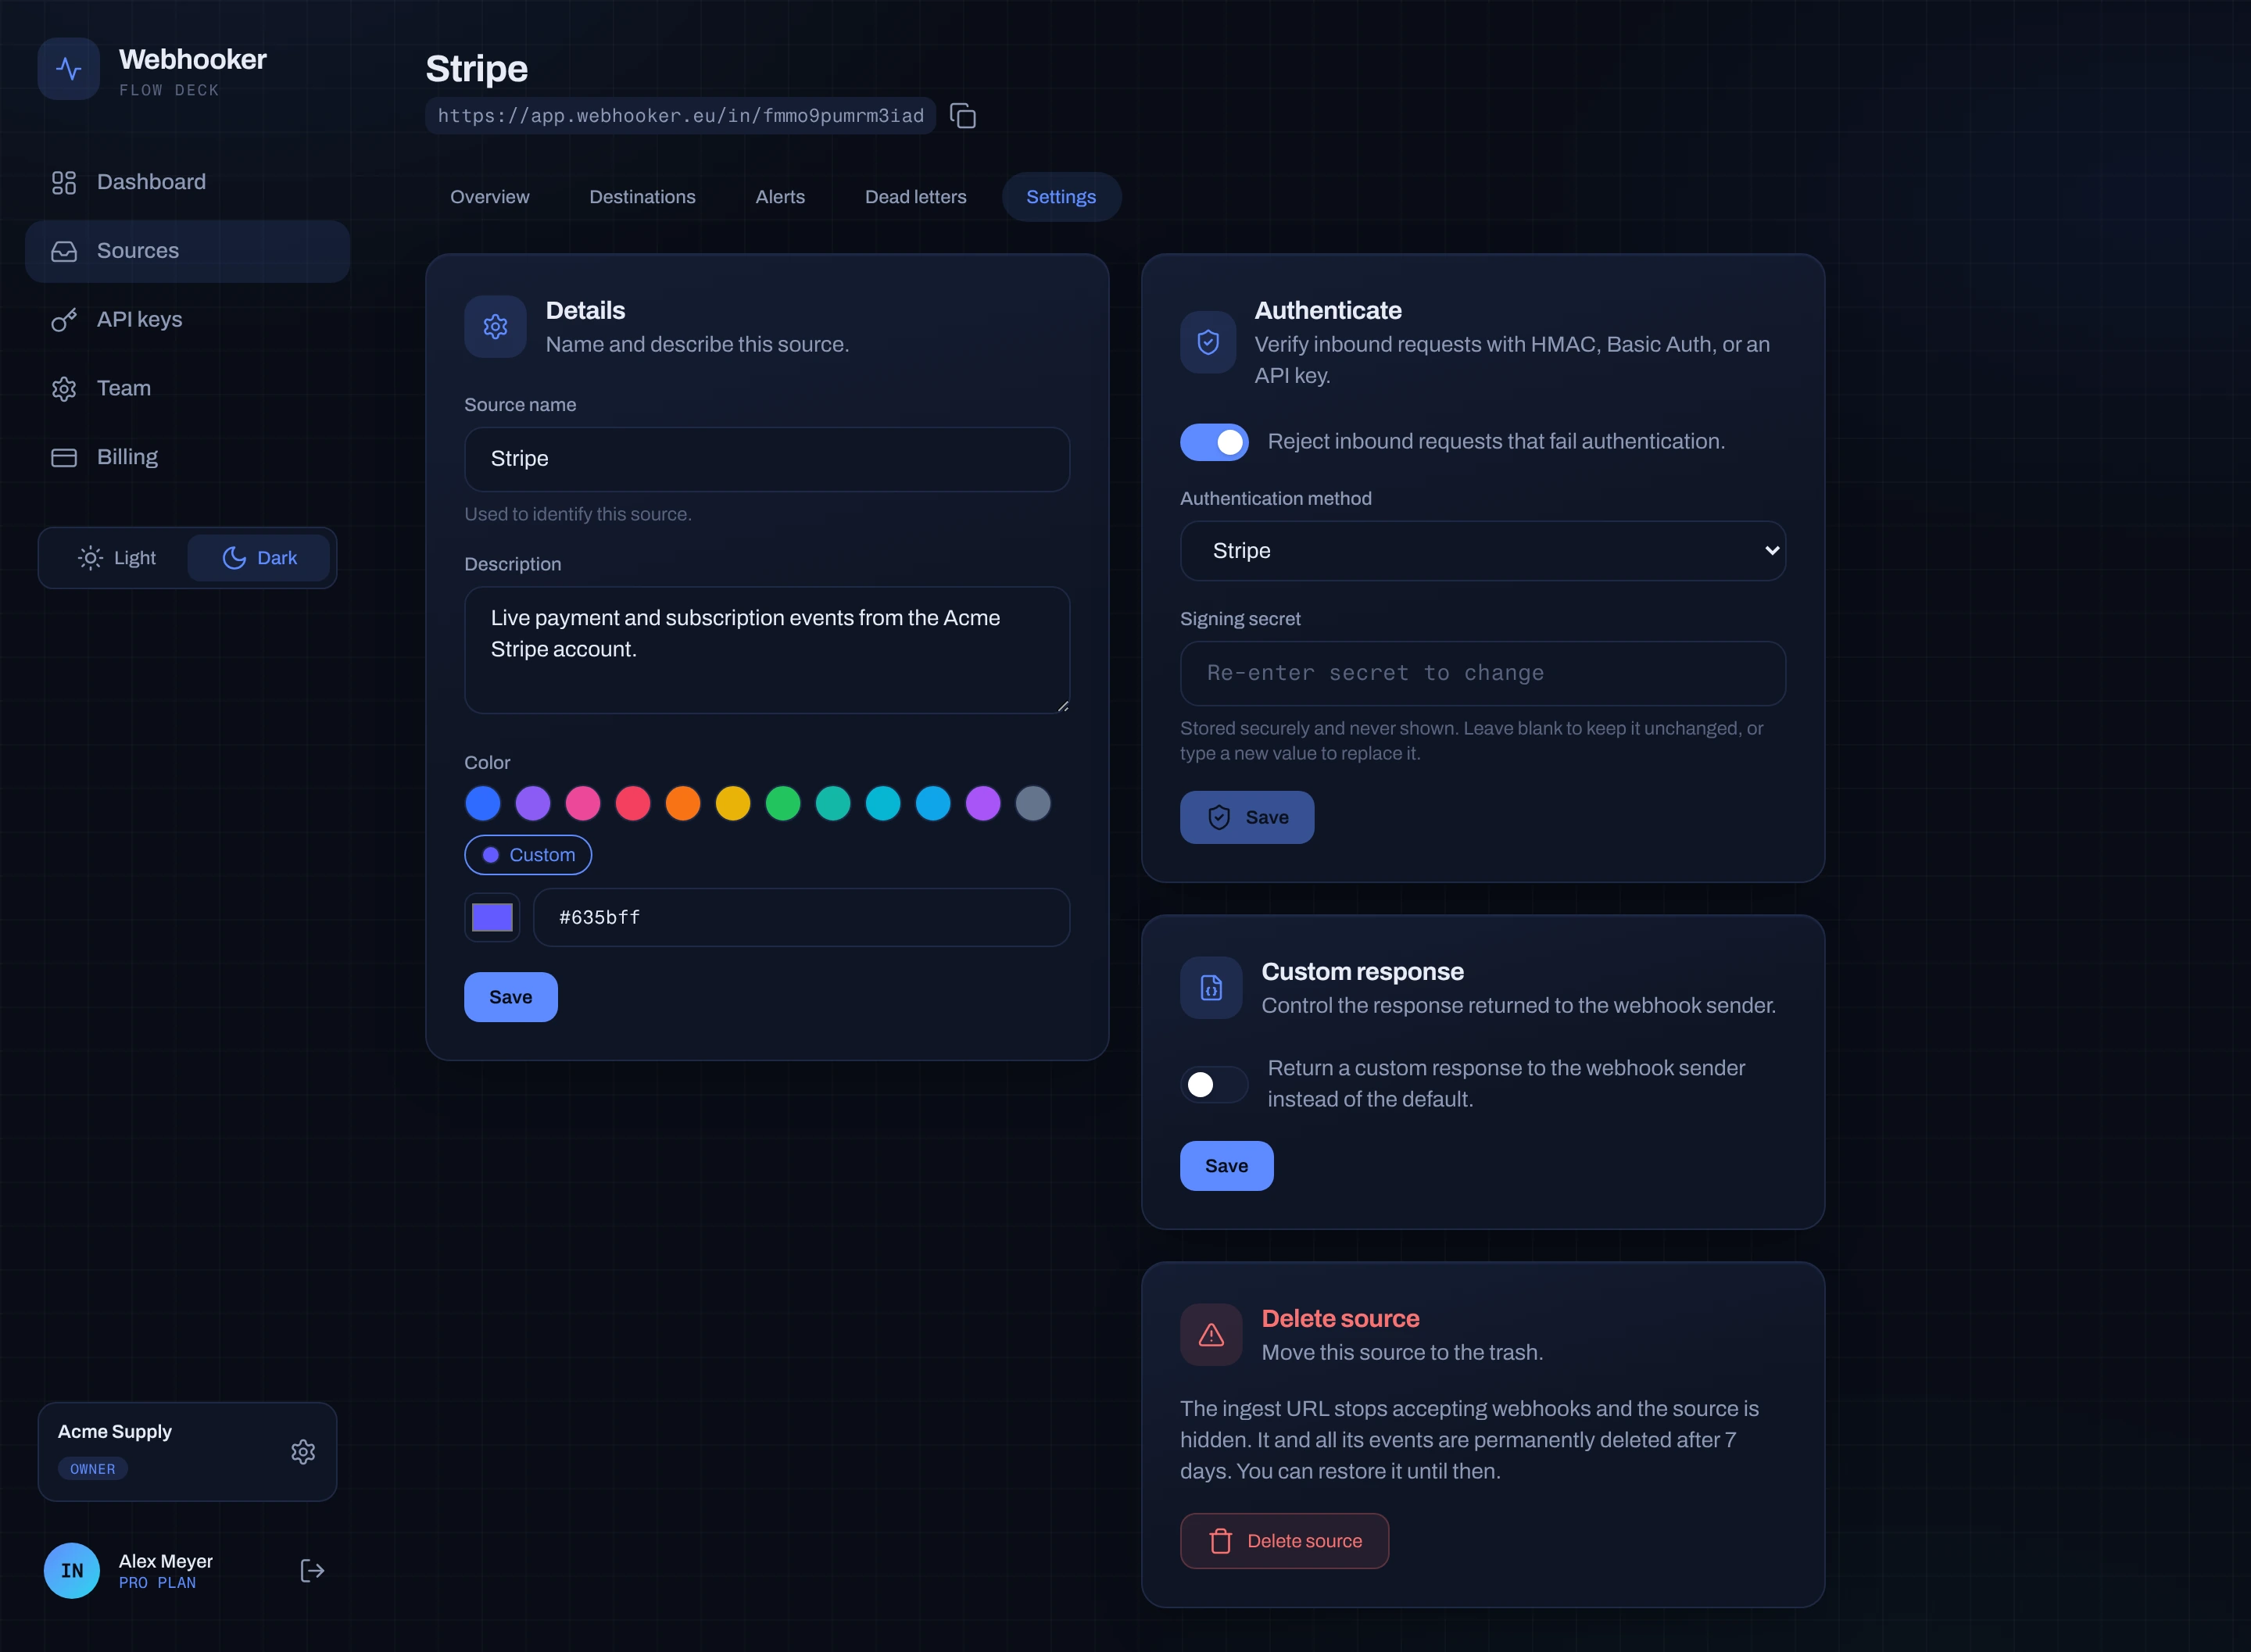
| Method | Use it when |
|---|---|
| Stripe | The sender is Stripe. Reads Stripe-Signature, tolerance 5 minutes. |
| GitHub | The sender is GitHub. Reads X-Hub-Signature-256. |
| Shopify | The sender is Shopify. Reads X-Shopify-Hmac-Sha256. |
| HMAC | Any other signed provider. You name the Signature header, the optional Timestamp header, the Algorithm (SHA-256 or SHA-1) and the Encoding (hex or base64). |
| Basic Auth | The sender can send Authorization: Basic … and nothing better. |
| API Key | The sender sends a fixed secret in a header you name. |
Paste the provider’s secret into Signing secret and save. Once saved, the field reads “Re-enter secret to change” — the secret is never sent back to the browser. To change it, type the new one in full; submitting the masked placeholder is rejected.
A request that fails verification is answered 401 and still appears in the
event log as failed, with no deliveries. That is deliberate: you can see the
attempt and fix the secret. Full details in
inbound verification.
5. Paste the URL into the provider
Section titled “5. Paste the URL into the provider”In the provider’s dashboard, add a webhook endpoint and paste the ingest URL. Most providers then send a test event straight away. The tutorials cover the exact screens for Stripe, GitHub, Shopify and Discord.
6. Watch the first event arrive
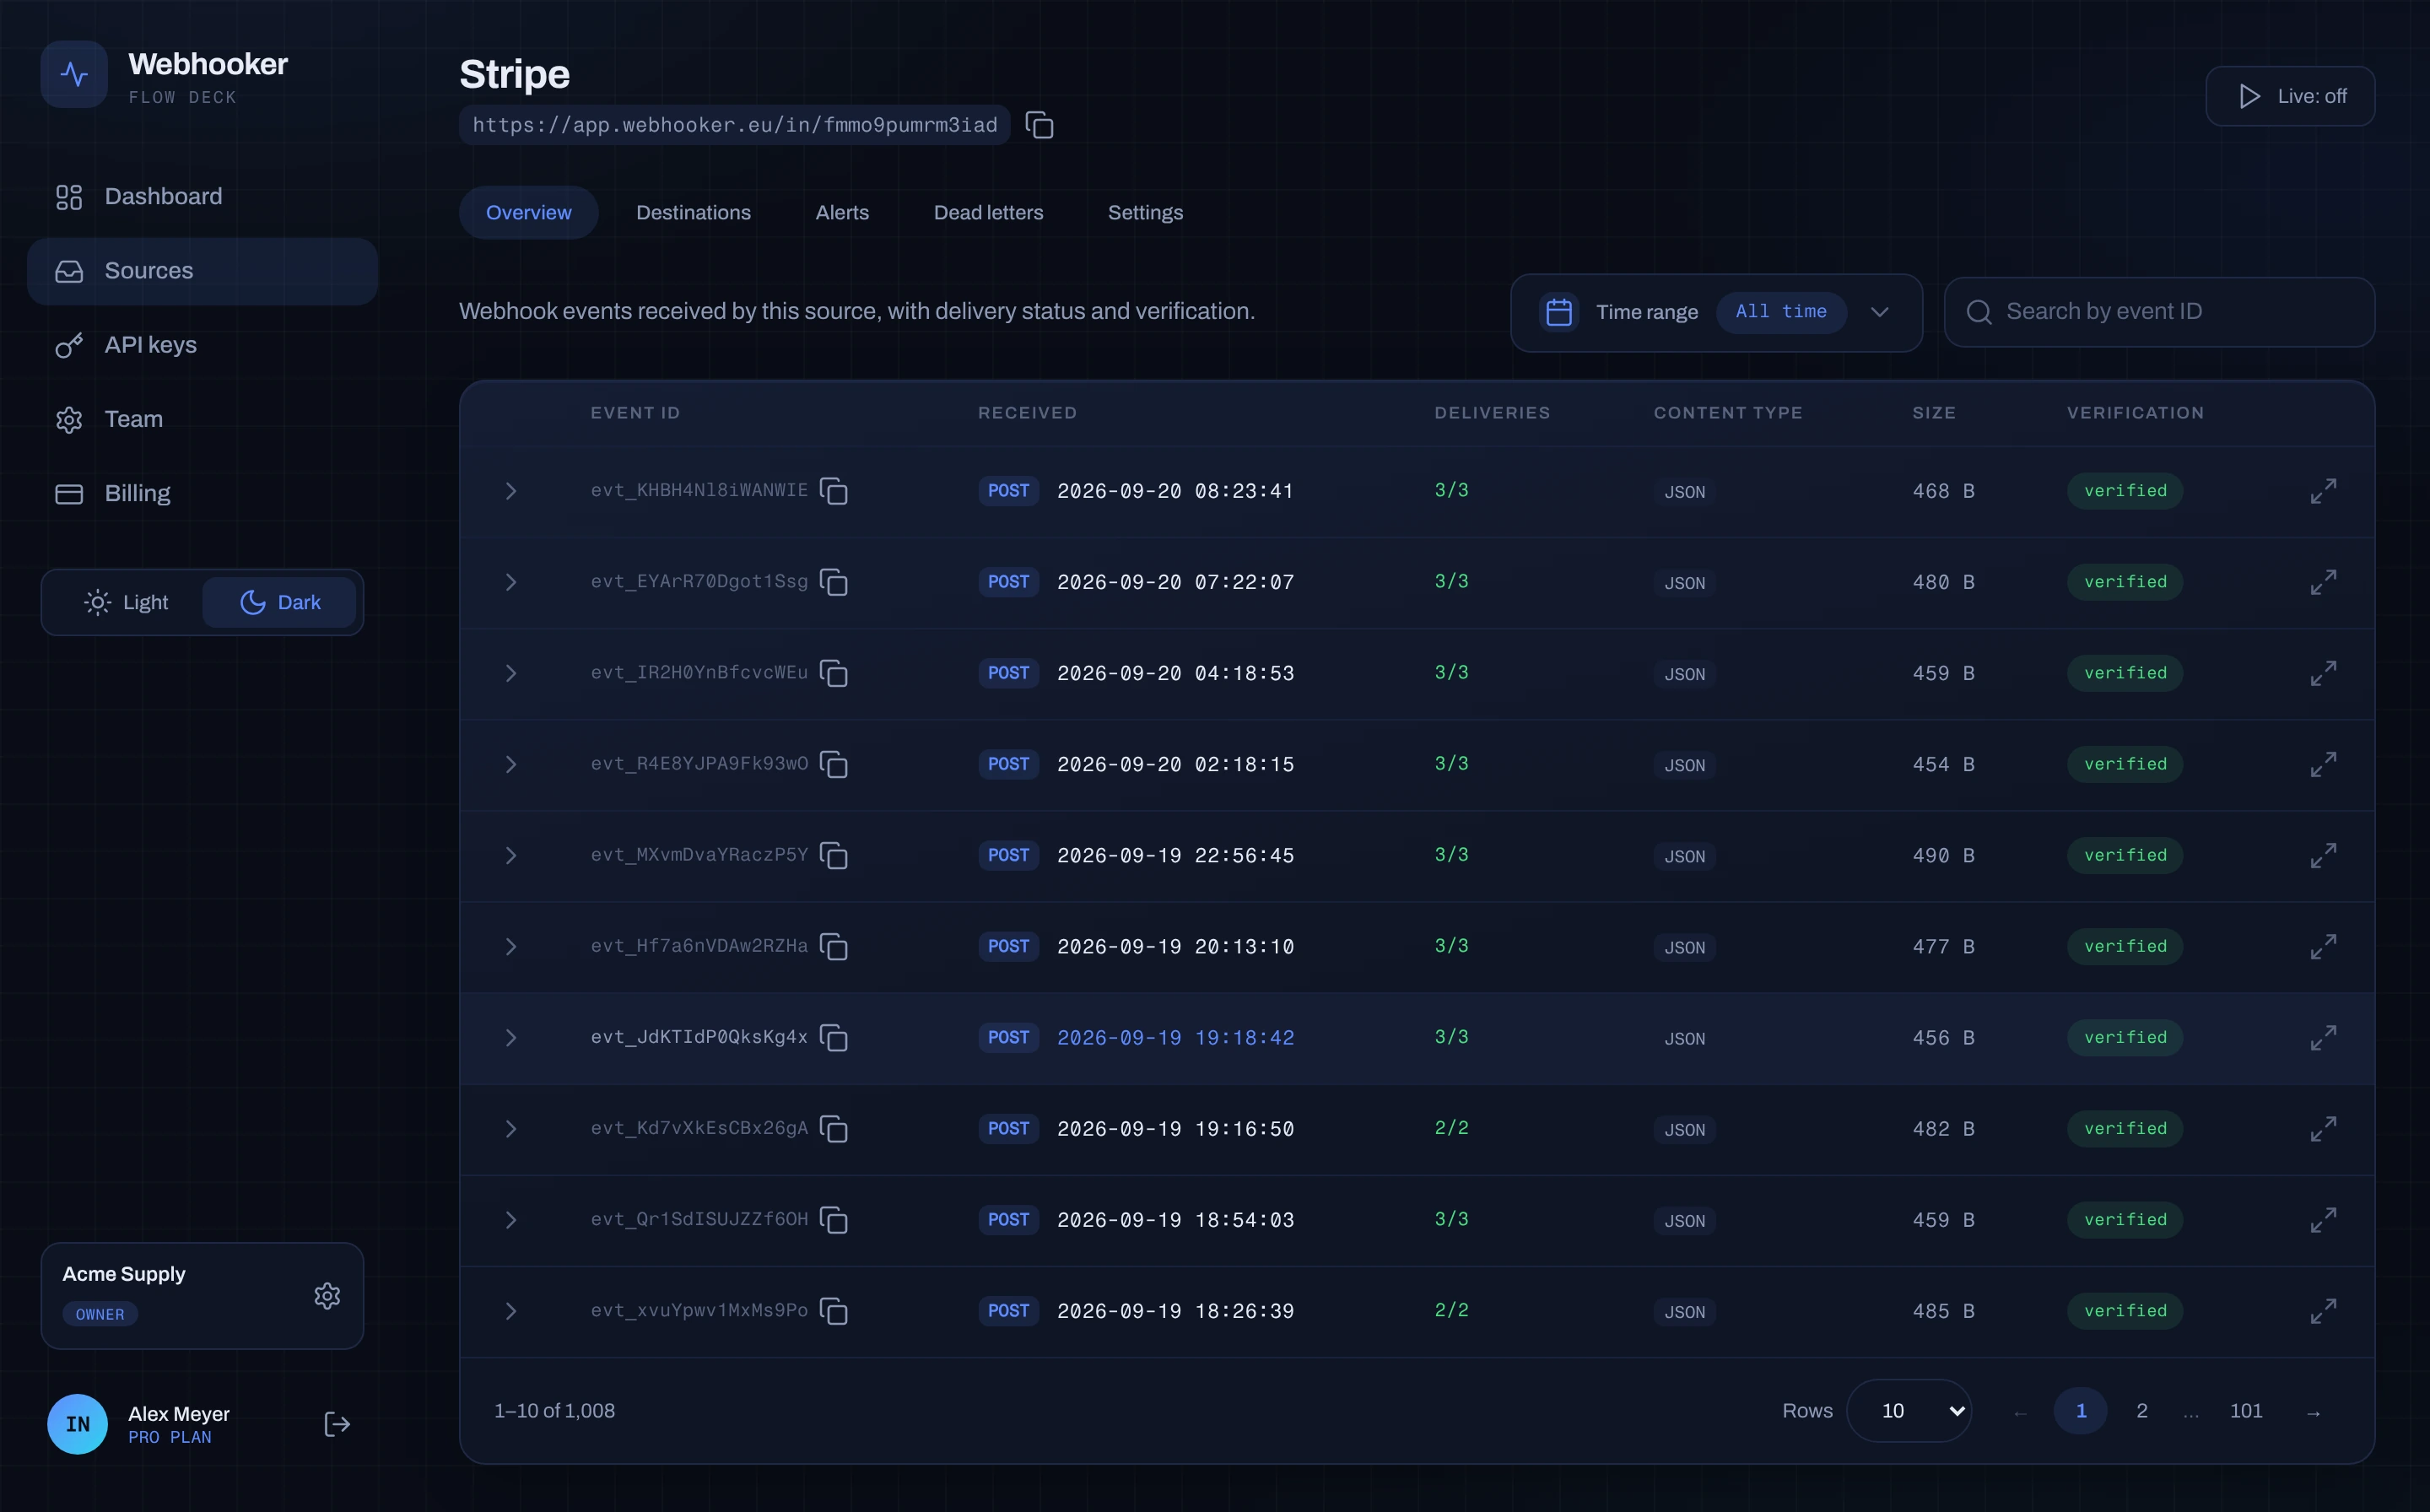
Section titled “6. Watch the first event arrive”Go back to the source and stay on the Overview tab. Live tail streams events as they arrive — a webhook that lands while the page is open shows up without a refresh.
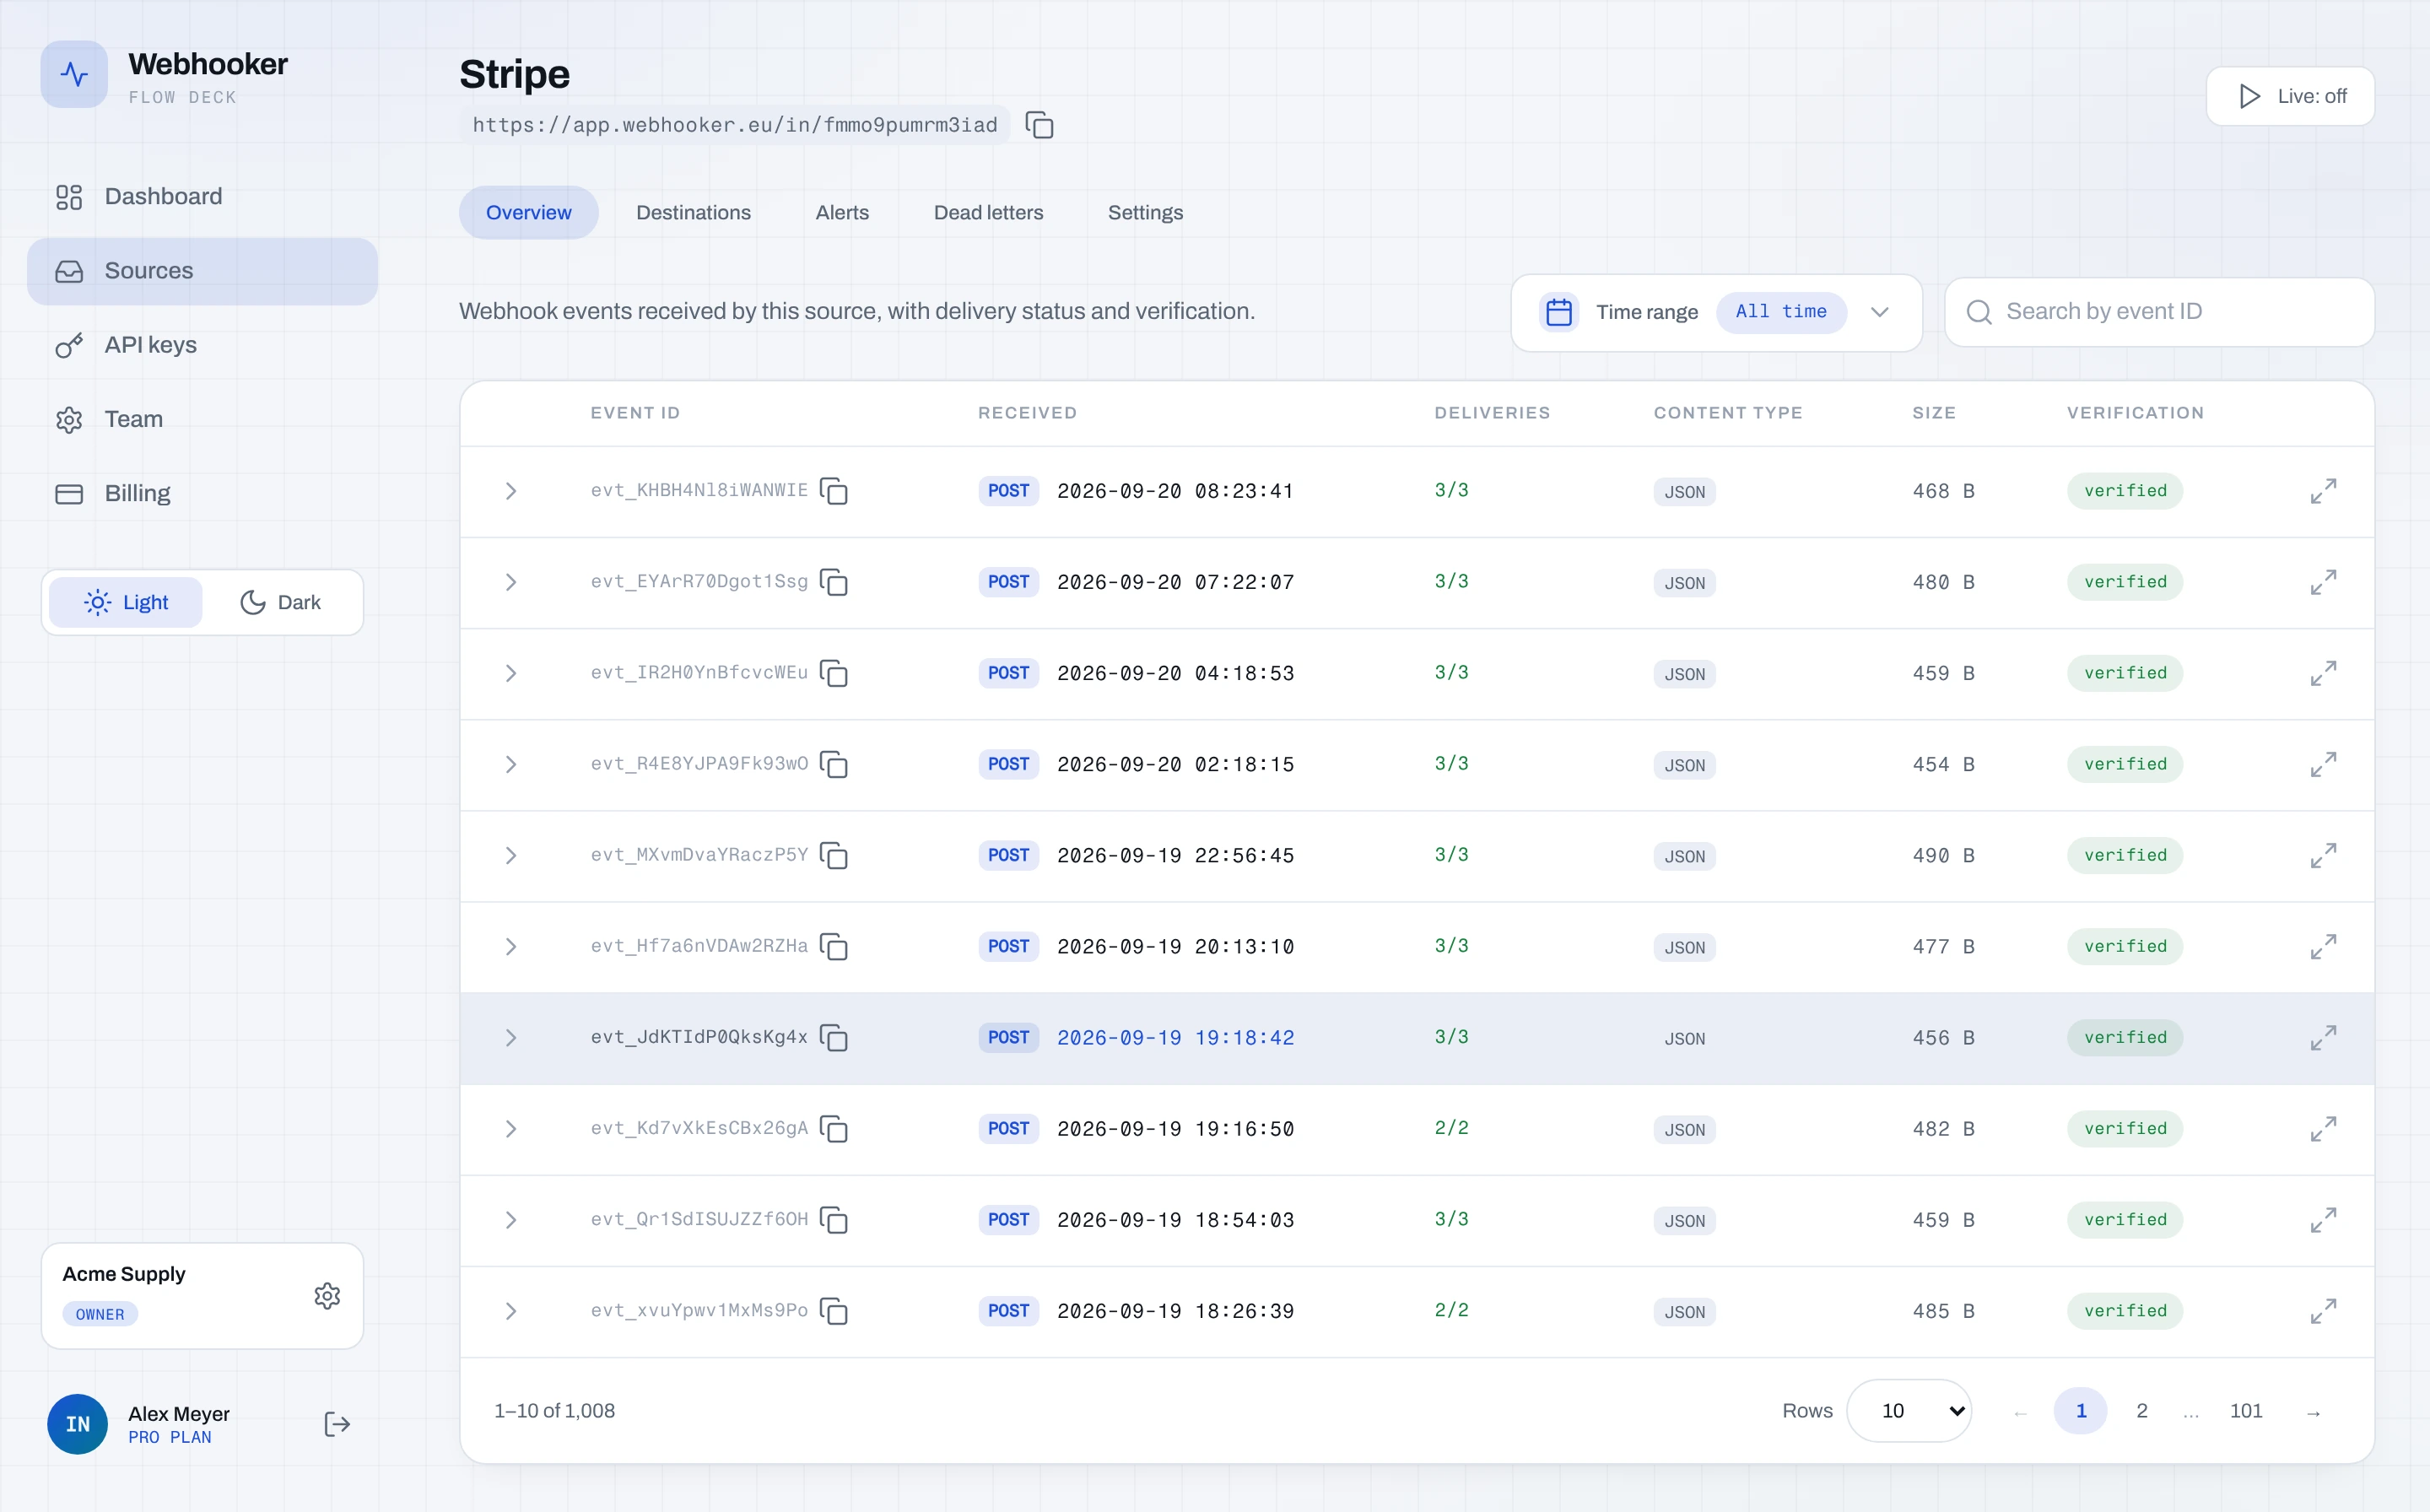
Click an event to see:
- the method, the received timestamp and the payload size,
- every inbound header,
- the raw body, pretty-printed when it is JSON,
- the verification result:
verified,failedorskipped, - one row per delivery, with the attempt history once you have a gateway.
At this point the URL receives and stores events. Nothing is forwarded yet — that is the next guide.
Optional settings
Section titled “Optional settings”Pause. A paused source still answers 200 and still stores events, but
suppresses deliveries until you resume it. Use it while you deploy a breaking
change to your handler: the provider never sees an error, so it never starts its
own retry storm, and you replay the backlog afterwards.
Custom response. Some providers require a specific status code or body. Settings → Enable custom response lets you set the Status code, Content type and Response body — see custom responses.
Delete. Delete source moves it to Trash, where it stays restorable
for 7 days and then is removed for good along with its events. A deleted URL
answers 404 immediately.
Troubleshooting
Section titled “Troubleshooting”| Symptom | Cause |
|---|---|
404 from the URL | The token is wrong, or the source is in the trash. Copy the URL again. |
401 on every request | The verification secret does not match the sender’s. Re-enter it in full. |
413 | The payload is over 1 MiB. |
429 | The source is over its per-minute ingest budget. See limits. |
402 | The workspace used up its monthly event quota. |
| Events arrive but nothing reaches your app | Expected until a gateway exists. |
- Create a gateway — forward these events to your app.
- The ingest URL — request format and every response code.